AccVideo: Free Open-Source AI Video Generator
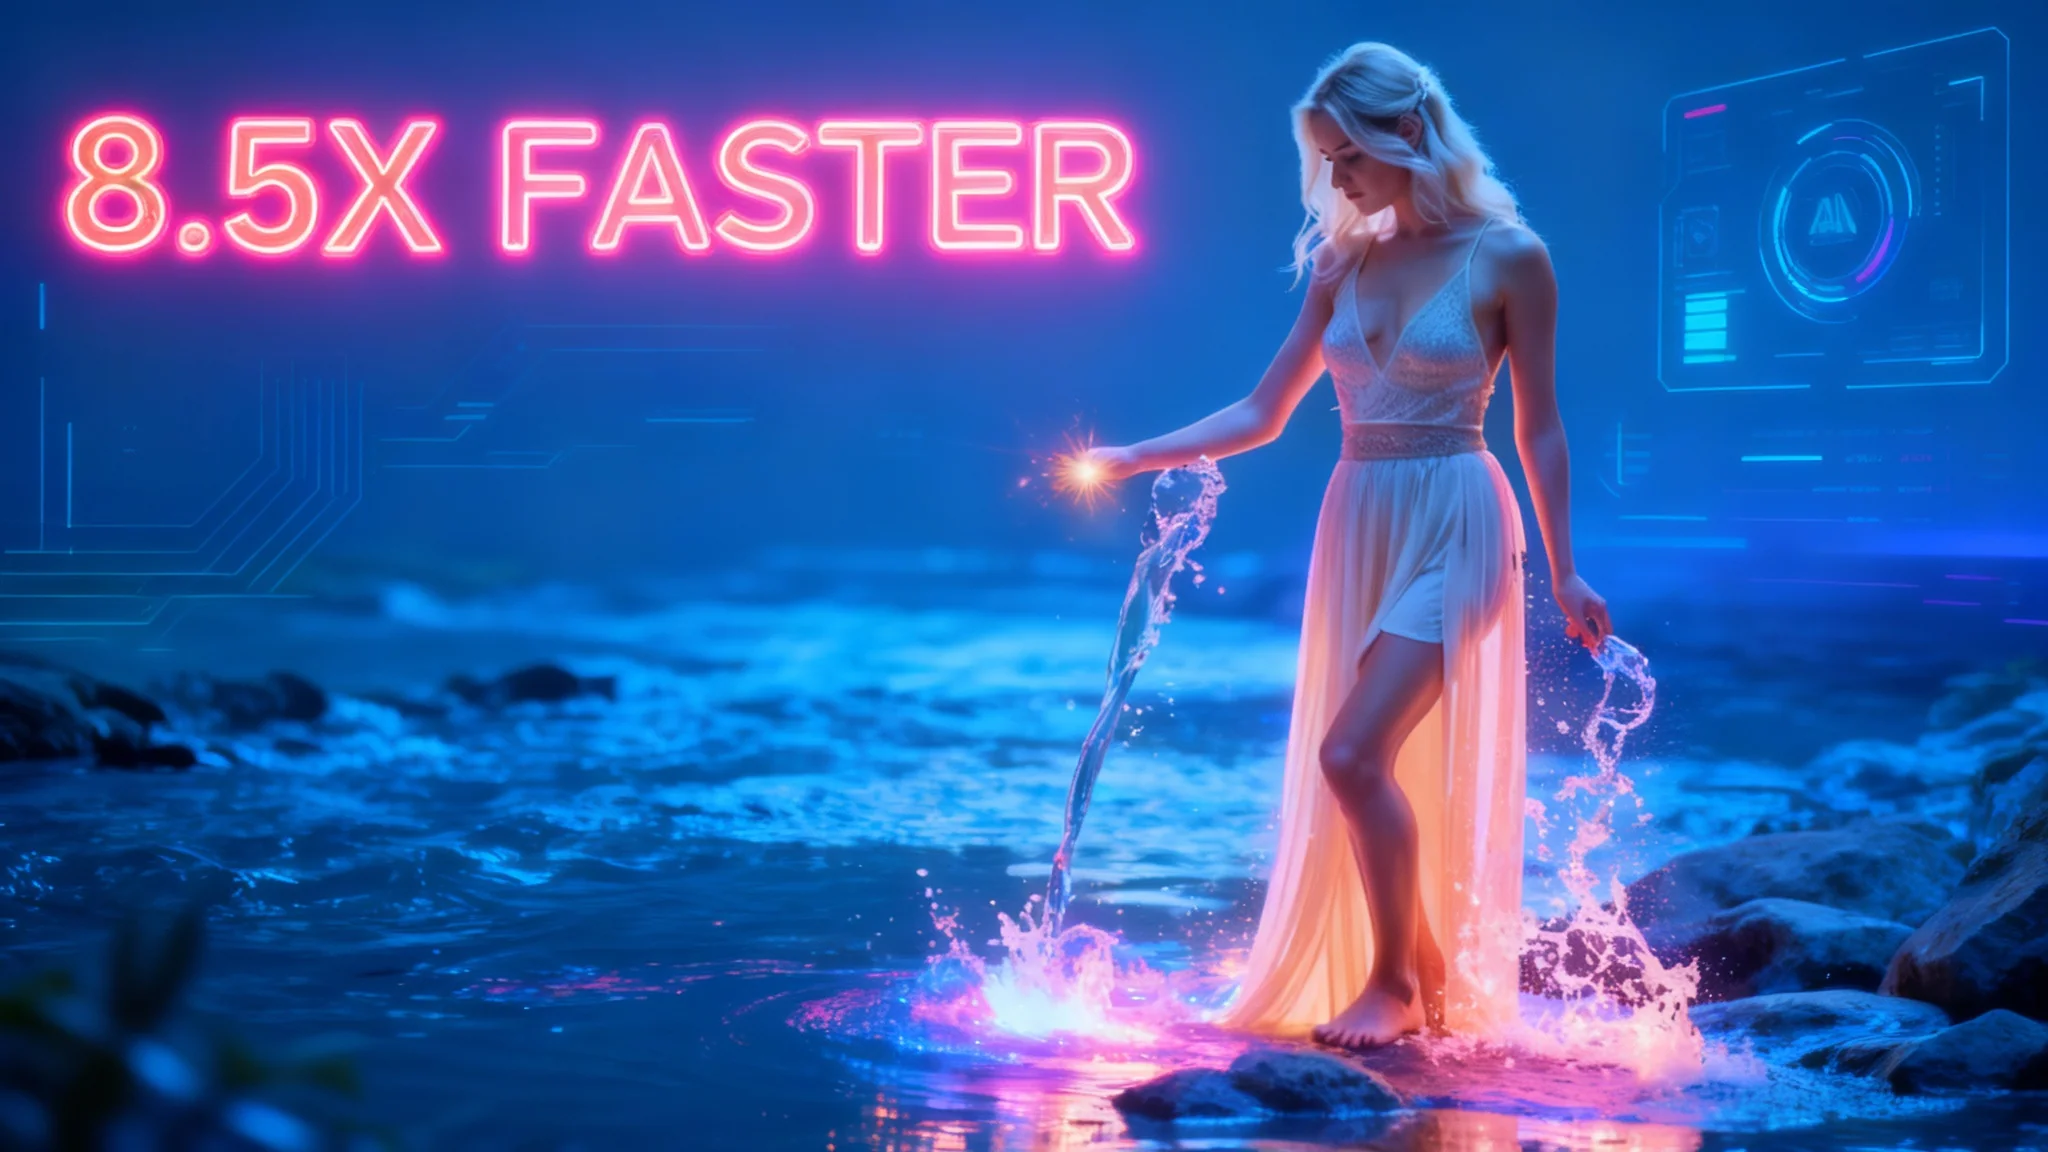
What if high-quality AI video creation didn’t require pricey subscriptions or long queues? AccVideo, short for accelerating video diffusion model, is a new open-source option that’s free to use and remarkably fast. The team claims it runs about 8.5x faster than Hunyuan Video, a well-regarded model known for strong results. That speed matters, especially if you want to generate clips locally on your own GPU without waiting ages.
I’ll cover what the shared test clips reveal about quality first, then explain how AccVideo achieves its speed, how to get it running, and what kind of hardware you’ll need. The models and code are already available, making it practical to try right now.
Speed First Impressions
The standout feature is raw performance. According to the authors, AccVideo completes video generation far quicker than a leading baseline. If you’ve been uneasy about local generation because of long wait times, the reported acceleration could make a real difference in day-to-day work.
They attribute the gains to an efficient training technique and architecture optimized for skipping much of the typical denoising process used in diffusion. I’ll break that down after we look at output quality.
Output Quality: What the Test Clips Show
The team shared multiple 1280×720 clips rendered at 24 fps. Across these, a few themes emerge around visual fidelity, motion handling, and prompt adherence.
Strengths Observed
-
Dynamic motion and camera movement
- The model renders action-heavy scenes convincingly, with motion that aligns well to text prompts. Camera pans and tracking are coherent and add a cinematic feel without obvious distortion.
-
Cohesive scenery and atmosphere
- Terrain, water, skies, and environmental depth come through clearly. Composition reads well, and the model maintains a sense of scale.
-
Characters, apparel, and props
- Human subjects, anthropomorphic characters, and stylized figures are portrayed in a way that matches descriptive prompts. Clothing, accessories, and props are integrated into the character forms with convincing placement and movement.
-
Emotional and expressive cues
- Prompts describing expressions and mood carry through, including nuanced shifts in facial emotion and posture. These hold even when multiple elements change within a short clip.
-
Macro detail and shallow depth of field
- Close-up views with fine texture show crisp results. Fur, skin texture, and reflective surfaces register with clarity, and background blur helps isolate the subject.
-
Environmental effects and physics
- Elements like rain, blowing fur, drifting particles, and falling objects are represented with plausible motion. Temporal consistency is solid, with minimal warping or sudden disappearance of background elements.
-
Human interaction and staged scenes
- Interpersonal moments, props near faces, and objects held near the camera are handled carefully. Scenes with microphones, musical instruments, and room ambience look cohesive.
Areas to Watch
No model is perfect, and a few limitations show up in the clips:
-
Fine motor precision
- Detailed finger articulation on instruments and keyboards can show minor inconsistencies. The overall pose and mood are strong, but micro-movements may not always align perfectly.
-
Style adherence
- When a prompt calls for a specific painterly or illustrative style, the output sometimes leans more realistic than intended. The content is accurate; the artistic texture can be looser.
-
Object merge/occlusion artifacts
- In rare frames, small objects may briefly blend into adjacent surfaces under fast motion or near facial features.
-
Left–right confusion
- Occasional mirrored actions can appear (e.g., raising the right hand instead of the left). The broader action is correct even if handedness flips.
-
Illegible small text
- Tiny textual details such as license plates can degrade into non-readable patterns.
-
Count accuracy under close inspection
- Hardware with multiple visible parts (strings, pegs, etc.) can show subtle count mismatches. Most viewers won’t notice, but it’s worth keeping in mind for product shots.
Overall, the clips suggest AccVideo can produce sharp, coherent results with convincing motion and mood across a wide range of prompts—from natural scenes and action shots to character-led vignettes. The most common imperfections are fine-grained and easy to miss at normal viewing distances.
How AccVideo Achieves Its Speed
Diffusion models typically start with random noise and refine it in many small steps until a clean image or video emerges. More steps can improve quality, but they also add a lot of compute time.
AccVideo takes a different path: it learns to jump from the very beginning of that process to the final result in far fewer steps.
The Standard Path: Many Steps From Noise to Video
- Traditional diffusion video models start with noise and denoise it iteratively.
- Each step nudges the frames toward the final result.
- Hundreds or thousands of steps are common, which drives up generation time.
The Shortcut: Teacher–Student Learning
- AccVideo is trained with a “teacher–student” idea.
- The teacher is a strong, pre-trained diffusion model that already knows how to produce high-quality results through many steps.
- During training, AccVideo observes the teacher’s trajectory from the noisy start to the finished video.
- It then learns to map the starting noise directly to the final frames, skipping most intermediate steps.
This approach, often described as trajectory‑based few‑step guidance, drastically cuts the number of denoising iterations required.
Guardrails for Quality: Adversarial Refinement
To keep visual quality high after cutting down the number of steps, AccVideo adds an adversarial training component. This helps align its outputs with the look and fidelity of the teacher’s results, reducing artifacts and preserving detail without reintroducing long generation times.
Availability and Local Setup
AccVideo isn’t just a paper. The team has released:
- Model weights on Hugging Face
- A GitHub repository with code
- Documentation with setup and usage instructions
If you want to run it locally, plan for a GPU with substantial VRAM, especially if you’re targeting 720p or higher. The docs outline exact requirements and recommended configurations.
Hardware Notes
- A modern NVIDIA GPU with ample VRAM is recommended.
- Higher resolutions and longer durations call for more memory.
- Disk space is needed for model weights and caching.
- A recent Python environment and common ML dependencies are required.
Getting Started: Step‑by‑Step
-
Review the documentation
- Read the project README to confirm hardware, OS compatibility, and Python version requirements.
-
Prepare your environment
- Install a recent Python (e.g., via conda or pyenv).
- Create and activate a fresh virtual environment.
-
Install dependencies
- Clone the GitHub repository.
- Install the required packages listed in the repo (e.g., via pip or conda).
-
Download model weights
- Visit the project’s Hugging Face page.
- Accept the license or terms if prompted.
- Download the specified weights and place them in the expected directory.
-
Configure runtime settings
- Set resolution, frame rate, duration, and sampling parameters according to the docs.
- Adjust memory-related flags if your GPU has limited VRAM.
-
Run a test generation
- Use the provided script or CLI to generate a short clip at 720p and 24 fps.
- Verify that output files are saved correctly.
-
Iterate and refine
- Tweak prompts, steps, and guidance values for better results.
- Scale up resolution or duration once the pipeline is stable.
-
Optional: Enable optimizations
- Explore half-precision or other memory-saving options if recommended by the repo.
- Profile performance to find the best balance of speed and quality.
Performance Benchmarks
The numbers shared by the team are striking for 720p generation. Here’s the comparison they report:
| Model | Approximate 720p Generation Time |
|---|---|
| Hunyuan Video | > 3,000 seconds (~50+ minutes) |
| AccVideo | ~380 seconds (~6 minutes) |
That’s a huge difference in turnaround time. On a local machine, cutting generation from nearly an hour to a few minutes can change how you plan, iterate, and deliver. It’s the kind of speed that lets you test multiple prompts in a single session rather than scheduling long runs.
Practical Use Considerations
Before you adopt AccVideo, a few practical points will help you set expectations and workflow.
Prompting and Planning
- Be specific about subject, setting, motion, lighting, and mood.
- If style is important, consider adding clear descriptors and references. Be prepared that highly specific styles may still skew toward realism at times.
- Keep small textual elements to a minimum unless you’re fine with them being non-readable.
Resolution and Duration
- Start at 720p, 24 fps, and short durations to validate your setup and prompts.
- Scale up only after you’re comfortable with memory usage and stability.
- For macro shots and texture-heavy scenes, watch for VRAM spikes and adjust settings accordingly.
Quality vs. Speed
- Even with AccVideo’s fast approach, you can tune generation steps and guidance settings for your needs.
- If you hit memory limits, try lower precision modes (as supported) or reduce resolution and clip length.
Reviewing Outputs
- Inspect critical frames for small inconsistencies in hands, small objects, and fine textures.
- For product-adjacent work, check counts (strings, buttons, fasteners) and mirrored actions.
- If a specific art style is crucial, consider prompt iterations or post-processing to match your target look.
Where AccVideo Fits
-
Independent creators
- Fast local iteration opens the door to daily experiments and quick turnarounds.
-
Researchers and practitioners
- A teachable, inspectable pipeline with public weights and code is valuable for testing ideas and reproducing results.
-
Small studios and teams
- Faster clip generation can align with tight timelines and in-house workflows, reducing reliance on remote services.
-
Educators and students
- A free, accessible model lowers the barrier to learning diffusion video generation, prompt design, and evaluation.
Key Takeaways So Far
- It’s free and open-source, with weights and code available.
- Reported generation speeds are significantly faster than a leading baseline.
- Quality is strong: coherent motion, compelling scenes, and convincing subjects across a wide range of prompts.
- The most common imperfections are subtle: micro-motions, occasional handedness flips, small-object occlusion, and unreadable tiny text.
- You’ll want a capable GPU with ample VRAM for higher resolutions and longer clips.
- The repository provides instructions to get started, and the workflow is practical for local use.
Final Thoughts
AccVideo’s promise is straightforward: high-quality video synthesis with far fewer denoising steps and much shorter waits. The training approach—learning a direct path from noise to final frames and reinforcing it with adversarial refinement—appears to deliver both speed and fidelity.
If fast, local AI video generation is important to you, this project is worth a serious look. You can download the weights from its Hugging Face page, pull the code from GitHub, check the documentation for hardware requirements, and have a 720p clip rendering on your own system in minutes.
Recent Posts
Faster AI Video in ComfyUI: AccVideo for Wan 2.1
Install and use AccVideo for Wan 2.1 in ComfyUI to get up to 8.5x faster AI video—GitHub setup, settings, and real examples created in under 10 steps.
AccVideo vs Hunyuan: Faster AI Video in ComfyUI
Run AccVideo in ComfyUI for up to 8.5x faster AI video than Hunyuan Video—same-or-better quality, no low-step LCM. Setup, workflow, settings, and Video Fusion tips.